正常要能作用才對,但我就是遇到了,把解法整理在這,給同樣踩到坑的夥伴。
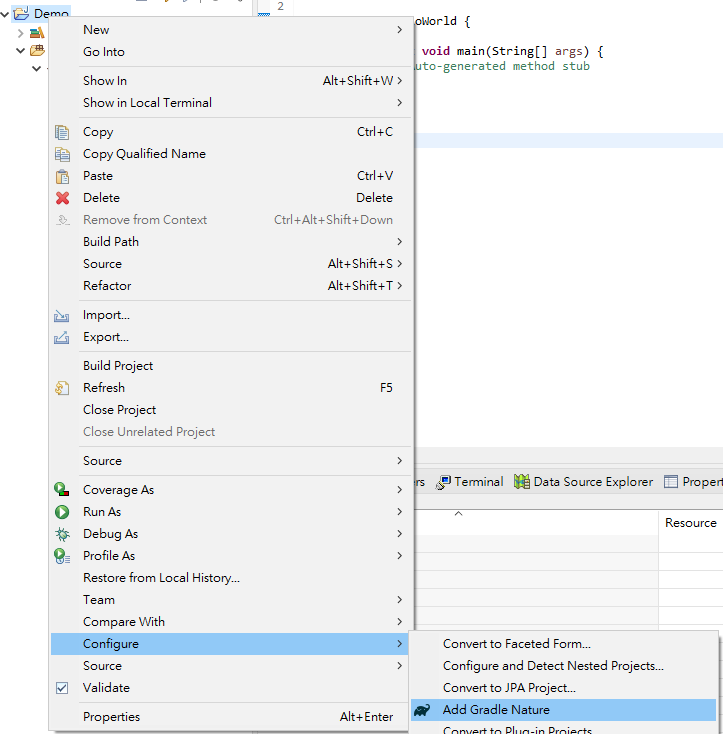
一般從Eclipse IDE這裡加上Gradle Nature後,就能手動新增build.gradle開始作業。
既然沒有作用的話,就自己手動建立起來。Gradle官網 抓取最新的版本v8.5,解壓縮後,設定環境變數,例如
1 PATH D:\gradle-8.5\bin;%PATH%
接著輸入gradle指令看看是否設定成功。
1 2 3 4 5 6 7 8 9 10 11 12 13 14 15 16 17 18 19 20 21 22 23 24 25 26 27 >mkdir DemoGradle >cd DemoGradle >gradle init Select type of project to generate: 1 : basic 2 : application 3 : library 4 : Gradle plugin Enter selection (default: basic) [1 ..4 ] 1 Select build script DSL: 1 : Kotlin 2 : Groovy Enter selection (default: Kotlin) [1 ..2 ] 2 Project name (default: DemoGradle): Generate build using new APIs and behavior (some features may change in the next minor release)? (default: no) [yes, no] > Task :init To learn more about Gradle by exploring our Samples at https://docs.gradle.org/8 .5 /samples BUILD SUCCESSFUL in 12 s 2 actionable tasks: 2 executed
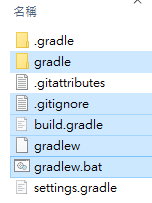
進去查看會長這樣,把這幾個檔案選取後,複製進原先的專案。
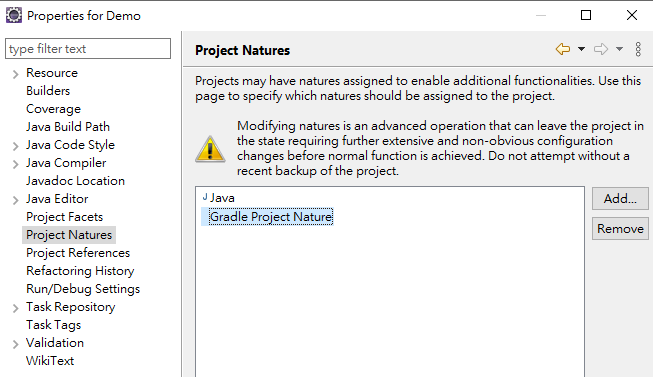
切換回Eclipse IDE,打開專案的「Properties」,至「Project Natures」手動新增「Gradle Project Nature」。
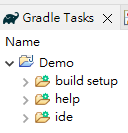
接著刷新下Gradle Tasks,就會看到可執行的task囉!
補充 至於為何需要加上Gradle Nature,對Eclipse IDE有什麼影響?
修改build.gradle如下
1
2
3
4
5
6
7
8
9
apply plugin: 'java' repositories { mavenCentral() } dependencies { implementation 'org.apache.tomcat:tomcat-jsp-api:7.0.109' }
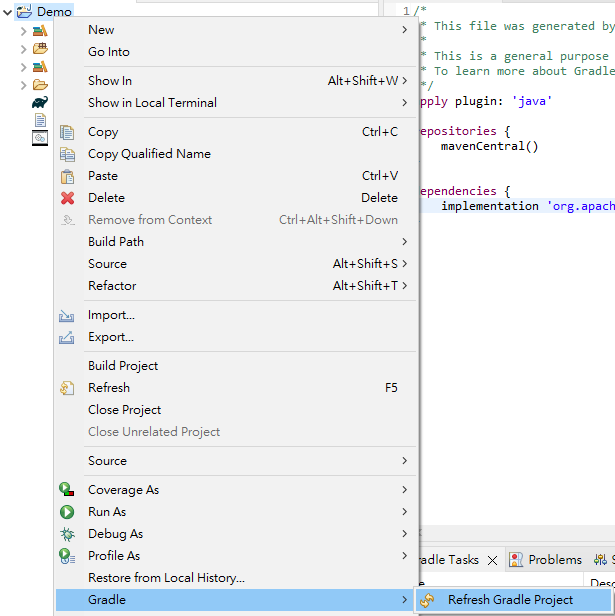
點選「Refresh Gradle Project」後
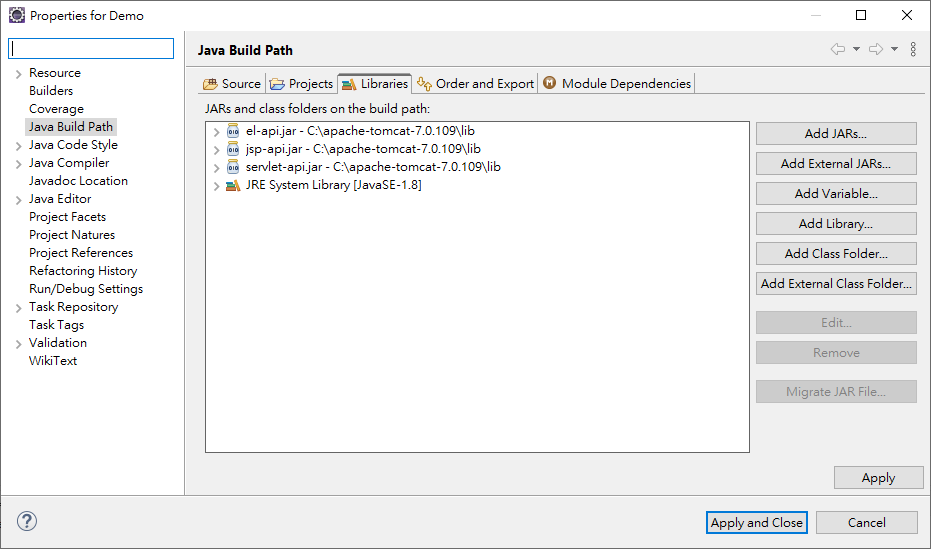
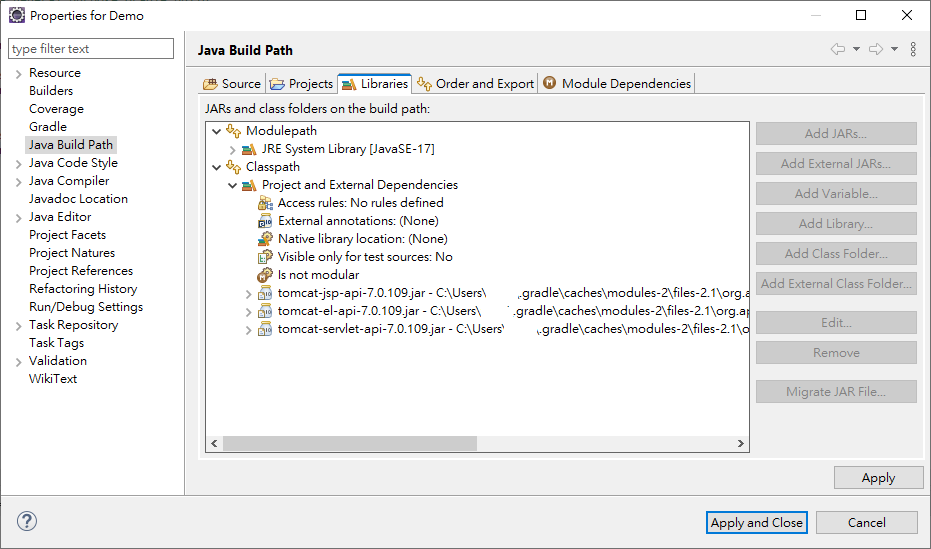
再回到「Java Build Path」查看,已將tomcat-jsp-api.jar以及相依的jar都一併引入,超級方便!