先從小專案開始,慢慢加大規模。
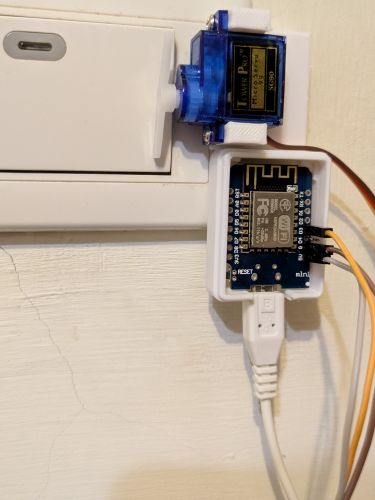
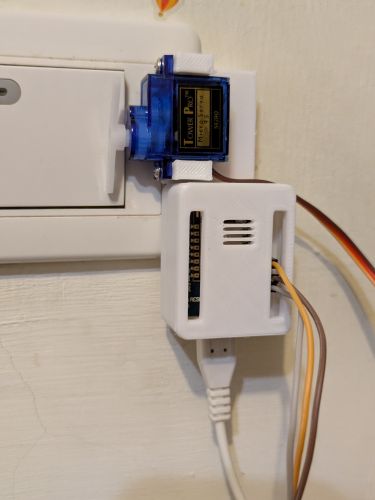
遙控電燈開關
3D 列印設計好的外殼 https://www.tinkercad.com/things/2Xyr9GqkHPA-remote-control-light-switch
使用 ESP8266WebServer 模組提供網站功能,以及 Servo 模組控制伺服馬達的角度。

main.py
1
2
3
4
5
6
7
8
9
10
11
12
13
14
15
16
17
18
19
20
21
22
23
24
25
26
27
28
29
30
31
32
33
34
35
36
37
38
39
40
41
42
43
44
45
| from machine import Pin
from servo import Servo
import ESP8266WebServer
import network
import time
motor = Servo(pin=0)
switch = 0
reset = -1
def handleCmd(socket, args):
if "angle" in args:
print(args["angle"])
motor.move(int(args["angle"]))
ESP8266WebServer.ok(socket, "200", "OK")
return
global switch, reset
print(switch)
reset = time.time() + 10
if switch == 0:
motor.move(75)
switch = 1
ESP8266WebServer.ok(socket, "200", "On")
else:
motor.move(0)
switch = 0
ESP8266WebServer.ok(socket, "200", "Off")
sta_if = network.WLAN(network.STA_IF)
sta_if.active(True)
sta_if.connect('無線網路名稱', '密碼')
while not sta_if.isconnected():
print('連線中')
time.sleep(1)
pass
ESP8266WebServer.begin(80)
ESP8266WebServer.onPath("/", handleCmd)
print("address:" + sta_if.ifconfig()[0])
while True:
ESP8266WebServer.handleClient()
if reset != -1 and time.time() > reset:
print('reset')
reset = -1
motor.move(35)
|
第12行:可傳入指定參數 angle 方便校準。
第42行:保留直接手動開關電燈的方式,不讓伺服馬達的舵片卡著開關,10秒後會自動回到初始位置。
Android 手機可以安裝 HTTP Request Shortcuts,方便用手機一鍵控制開關。
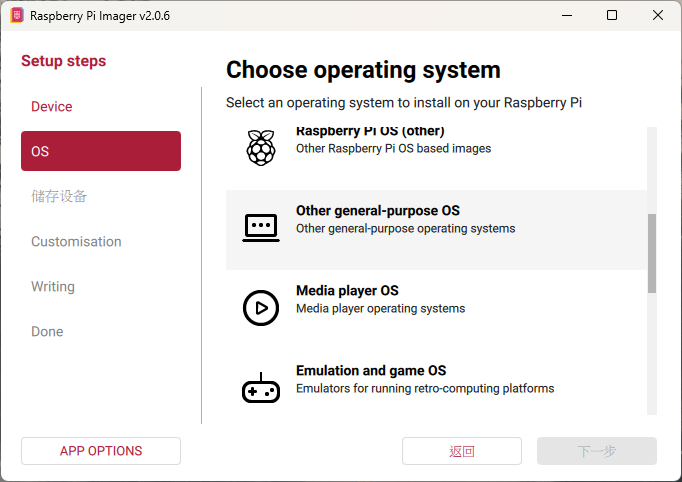
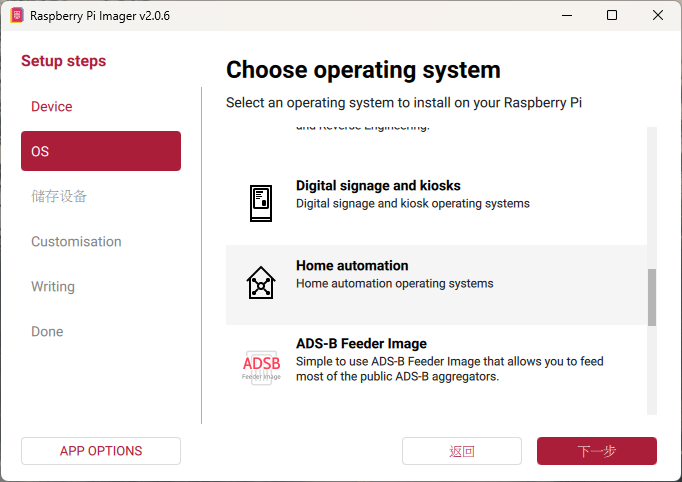
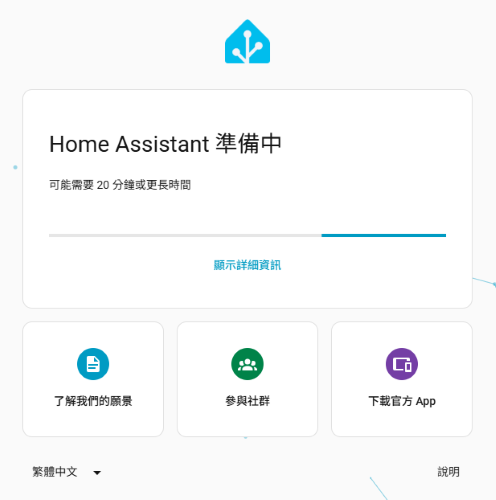
Home Assistant
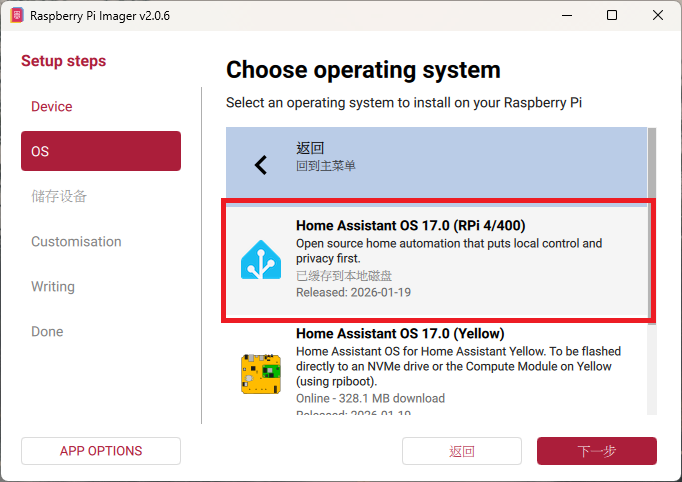
使用樹莓派官方提供的 Raspberry Pi Imager 做燒錄。
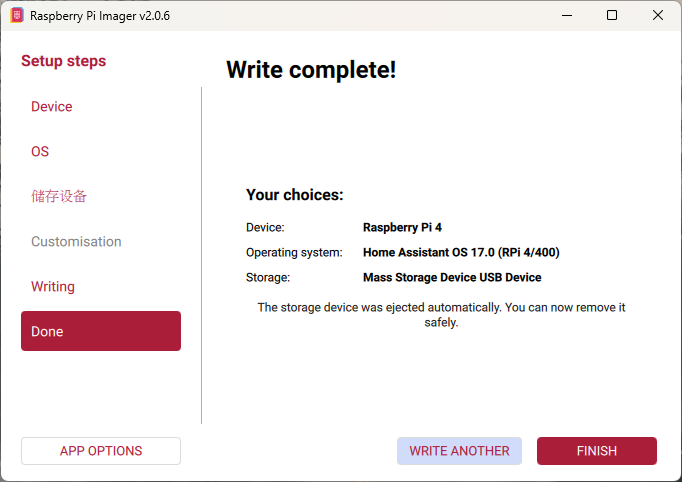
燒錄完成後,插入 SD 卡並將樹莓派接上實體網路線後開啟。
等待一段時間便可用瀏覽器打開 http://homeassistant.local:8123/
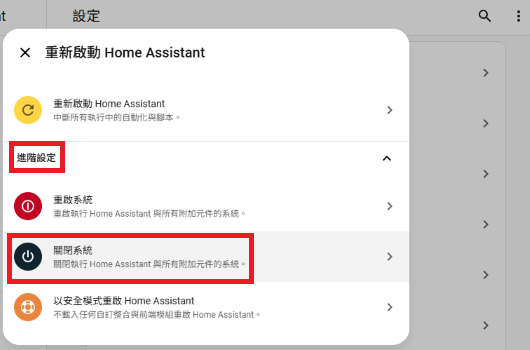
要特別講下,如何關機,筆者找了一下,所以特別紀錄和提醒。
先選「設定」,關機藏在右上角3個點,選「重新啟動 Home Assistant」後,要再按下「進階設定」,才會跳出「關閉系統」的選項。
安裝 File editor
至「設定」>「附加元件」>「附加元件商店」,找到 File editor 並安裝,安裝後按下「啟動」,並「新增至側邊欄」
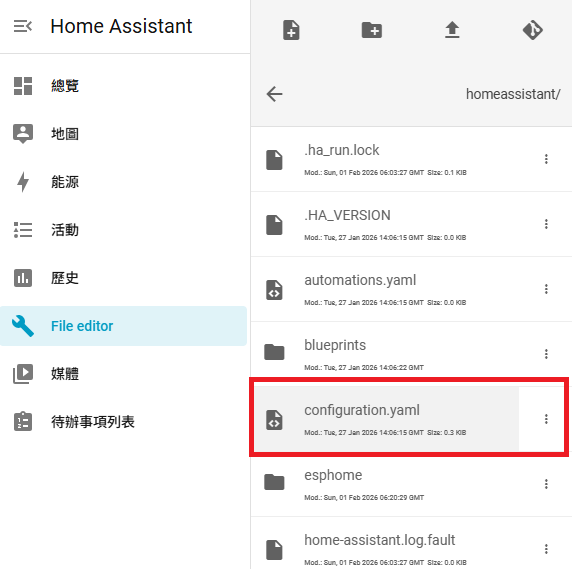
透過「File editor」,在 configuration.yaml 加入
1
2
3
4
| rest_command:
light_switch:
url: "http://192.168.1.107/"
method: GET
|
注意:記得先去路由器固定 IP,否則下次重新連線,會因為 IP 改變,而找不到。
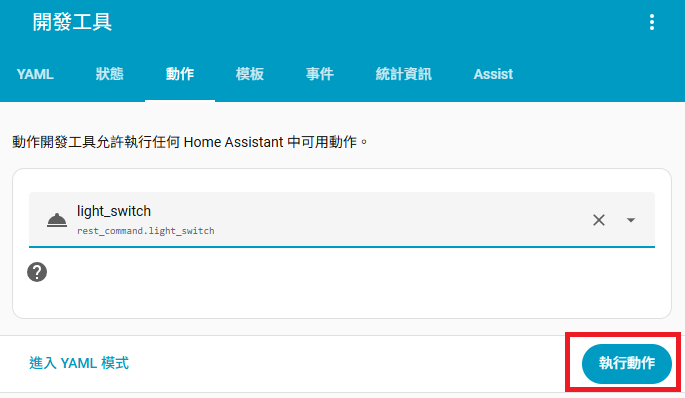
至「開發工具」重新載入 YAML 設定後,就可以在「動作」搜尋到建立好的 light_switch,可按下「執行動作」確認服務正常。
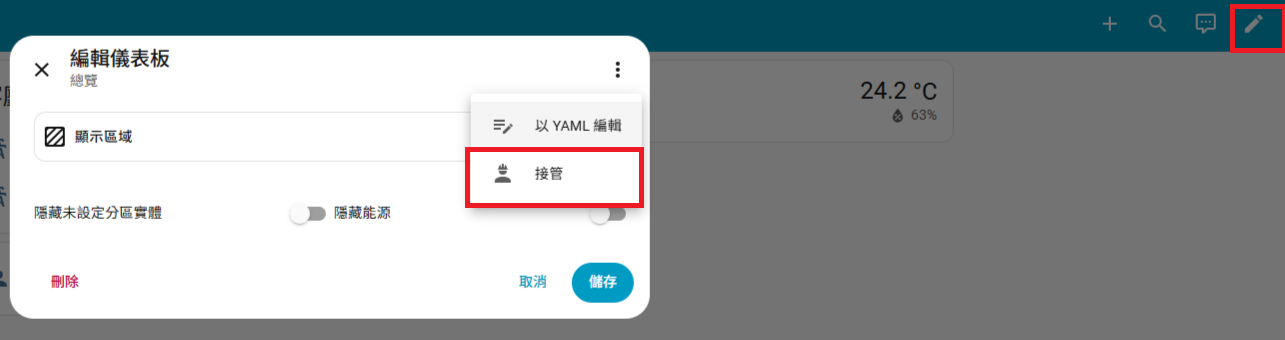
新增電燈開關的卡片
至「總覽」>「編輯儀表板」>「接管」,接管後下次就不會再出現
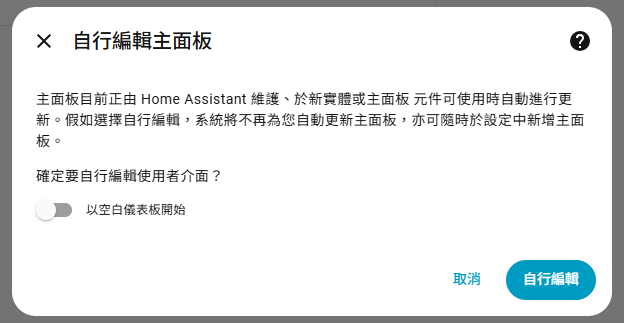
按下「自行編輯」
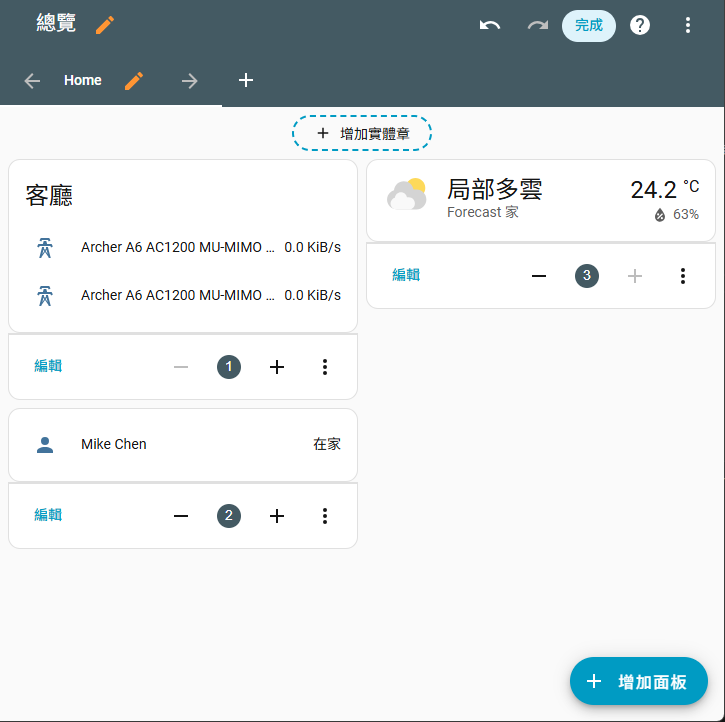
選「增加面板」
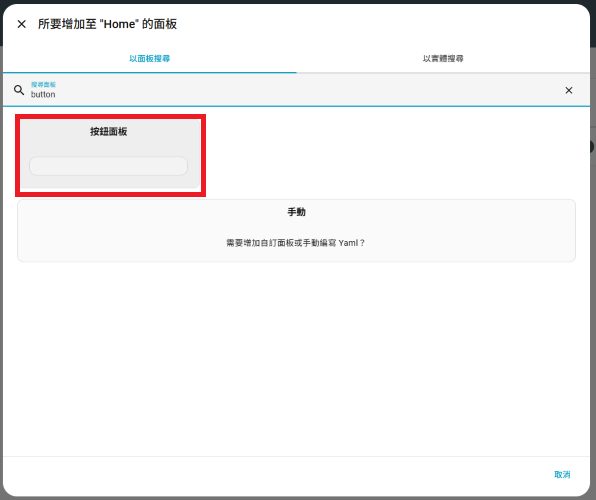
找到「按鈕面板」
往下找到「互動」並設定「圖示」和「執行動作」
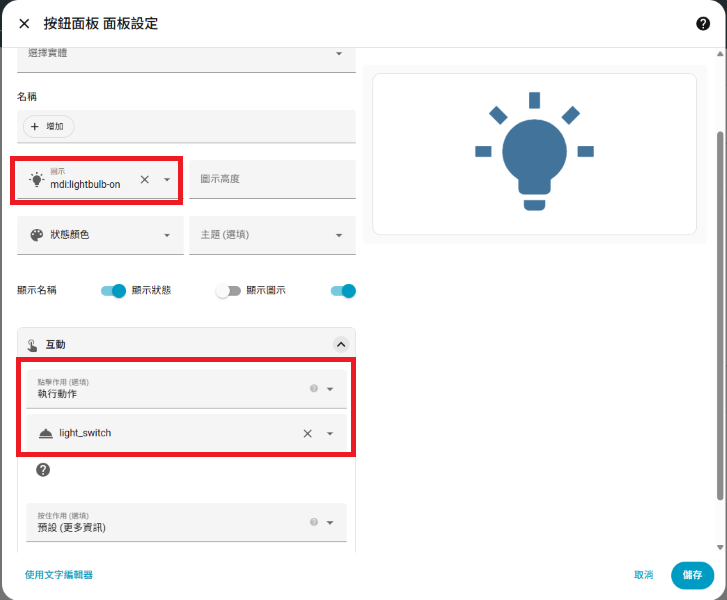
或是直接「使用文字編輯器」
1
2
3
4
5
6
7
8
| show_name: true
show_icon: true
type: button
tap_action:
action: perform-action
perform_action: rest_command.light_switch
target: {}
icon: mdi:lightbulb-on
|
按下「儲存」並「完成」,就可以實際點擊玩看看。
心得
再也不用站起來開關電燈,躺著想睡,直接透過手機關燈~