放了很久,遲遲未整理和紀錄,今天終於下定決心。
使用 docker 運行 Flask 網站
建立一個 hello_world 資料夾,寫一個簡單的 main.py
1 | import flask |
建立 requirements.txt
1 | flask |
建立 Dockerfile
1 | FROM python:3.11 |
參數說明:
- FROM 為運行的 image
- WORKDIR 為工作目錄
- COPY 複製專案目錄至指定目錄(/app)
- RUN 運行 image 時,要多跑的指令
- CMD 每次啟動容器時所執行的指令
根據 Dockerfile 打包成 image
1 | docker image build -t hello_world . |
新建並啟動 container
1 | docker run -p 8000:8000 -d --name hello01 hello_world |
接著打開瀏覽器 http://localhost:8000
看到 Hello World 便表示成功囉!
上傳到 Google Cloud Run 執行
參考 [GCP] GCP上傳映像檔至 Artifact Registry 這篇的作法
輸入指令下 tag
1 | docker tag hello_world asia-east1-docker.pkg.dev/xxx/hub/hello_world:v1 |
輸入指令上傳 image
1 | docker push asia-east1-docker.pkg.dev/xxx/hub/hello_world:v1 |
進入 GCP 頁面 > 至「Cloud Run」選擇「部署容器」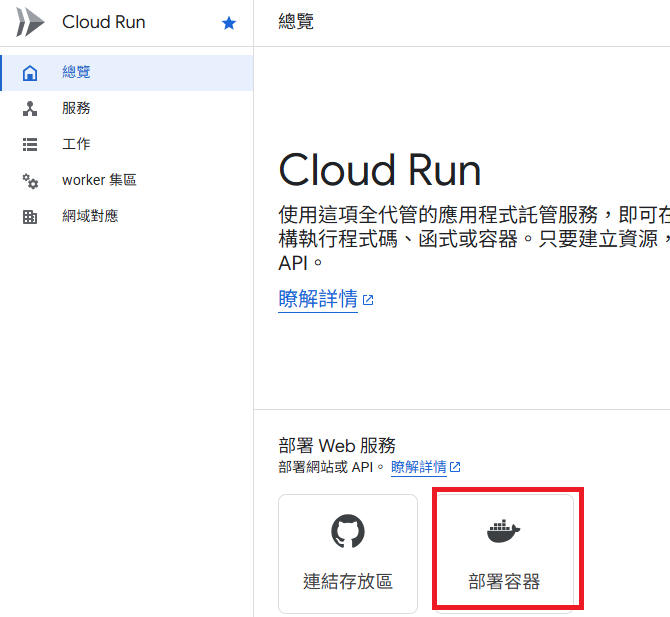
選擇剛才上傳至 Artifact Registry 的 image,注意底下的 port 預設是 8080,要改成 8000 (或指定 port)。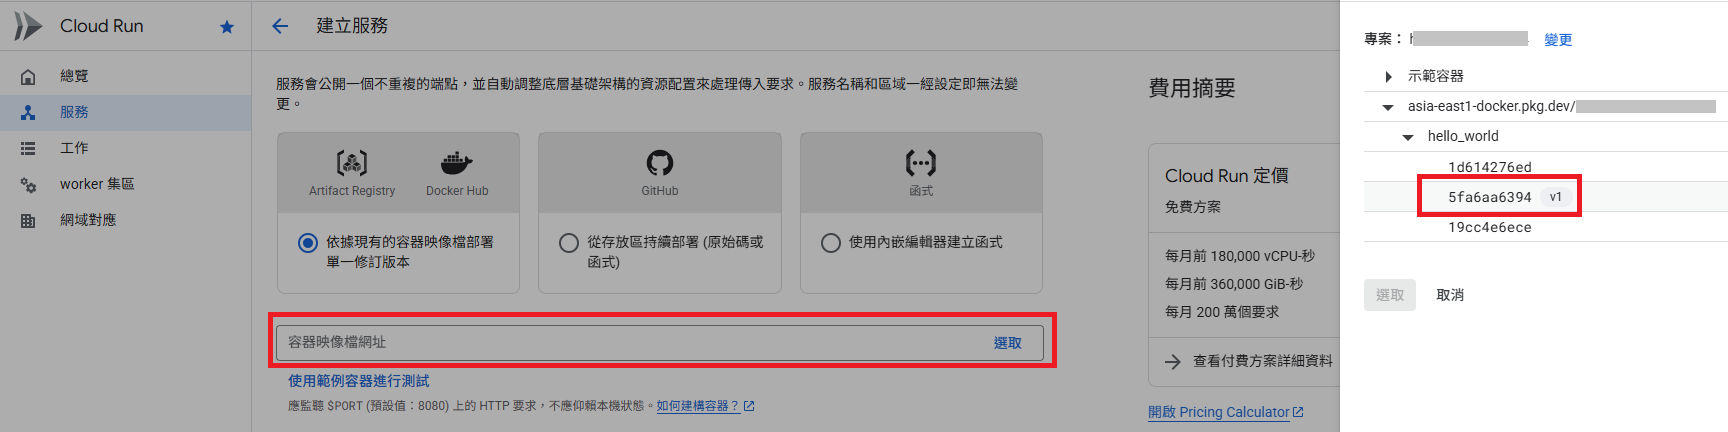
待部署完成後,就可以打開 GCP 提供的網址做確認。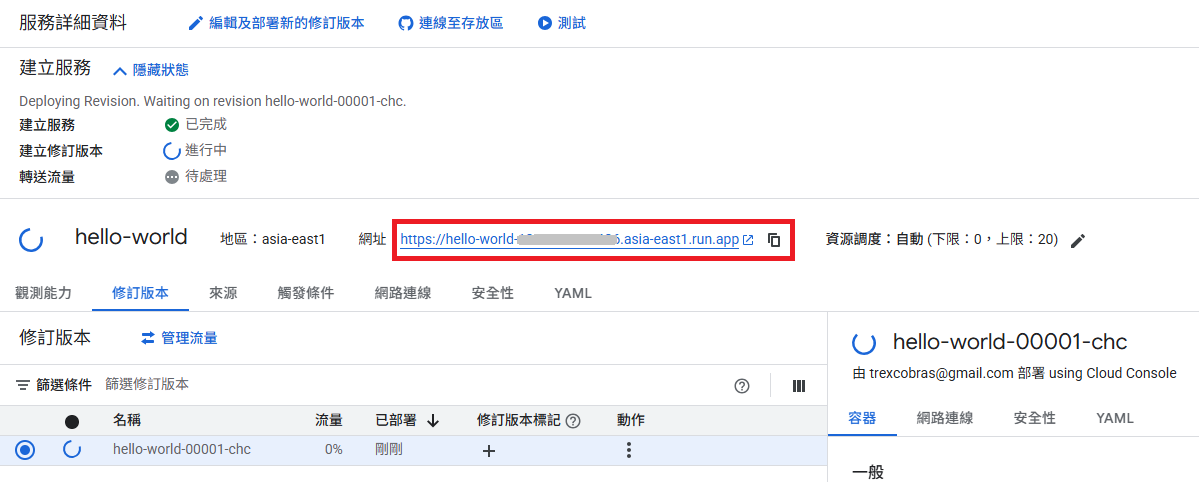
進階:使用 Firestore Database
既然服務都放在 GCP,就來整合下 Firestore
新增 Firebase Admin SDK
1 | pip install --upgrade firebase-admin |
先在 Firebase 建立好專案,再到 GCP 控制台中,前往「IAM 與管理」>「服務帳戶」,找到「firebase-adminsdk」開頭的帳號。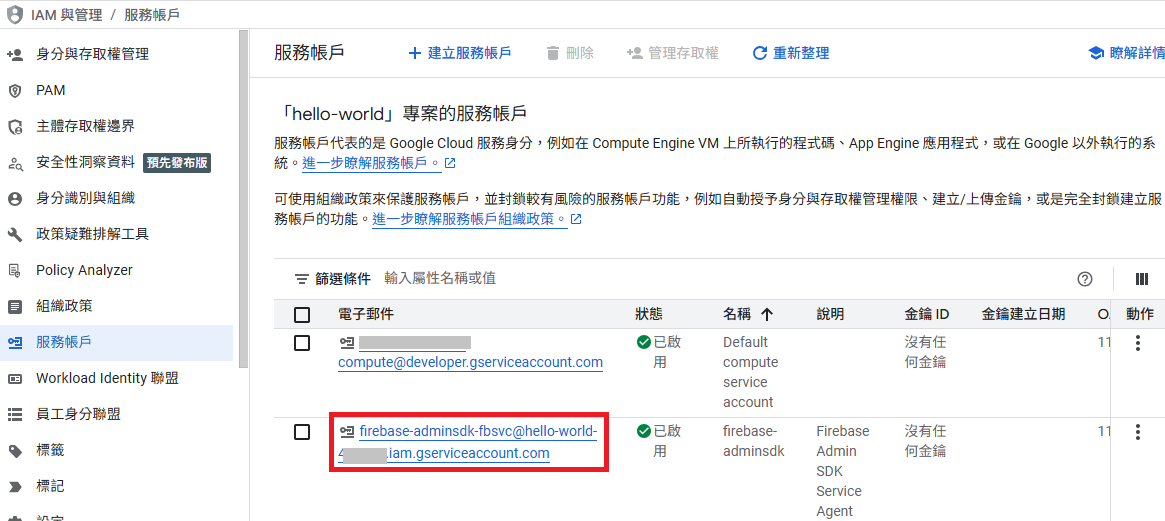
進入並建立金鑰,會取得 JSON 檔案。複製一份到專案資料夾底下,並命名為 firebase-adminsdk.json
修改 main.py
1 | from datetime import datetime, timedelta, timezone |
大致說明下功能,為簡單的待辦清單,GET 取得所有清單,POST 用來新增一筆事項。
修改 requirements.txt
1 | flask |
再次上傳到 Artifact Registry
1 | docker image build -t asia-east1-docker.pkg.dev/xxx/hub/hello_world:v2 . |
再次部署完成後,點開網址看到會是空白的。
等下,怎麼不是空白的
原來是忘了在 Firebase 控制台先初始化 Firestore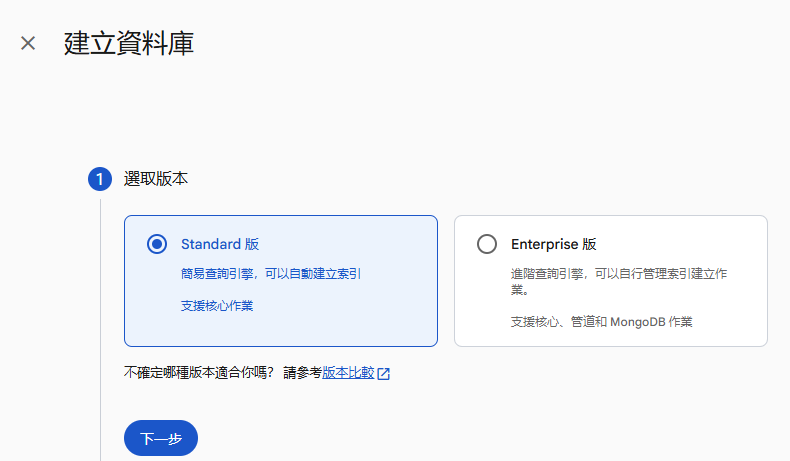
完成後,刷新網址就會看到錯誤消失了。
接著輸入指令建立一筆資料
1 | curl -X POST -H "Content-Type: application/json" -d "{ \"title\": \"Hello\", \"content\": \"Hello World\" }" 'https://your_gcp_url/todo' |
刷新頁面後,就會看到
1 | Hello => Hello World |
在 Firebase 控制台也會看到剛建立好的資料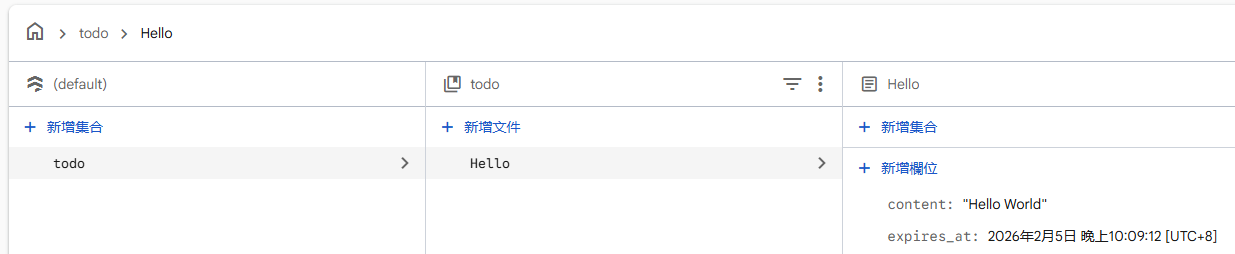
到這邊還沒結束喔!
進階:使用存留時間 (TTL) 政策管理資料保留機制
為什麼要多一個 expires_at 欄位,且是當下時間加 30 分鐘呢?
為了讓過期的資料能自動被刪掉,是個很方便的機制。
參考https://firebase.google.com/docs/firestore/ttl?hl=zh-tw
從 GCP 控制台找到 Firestore,並進入資料庫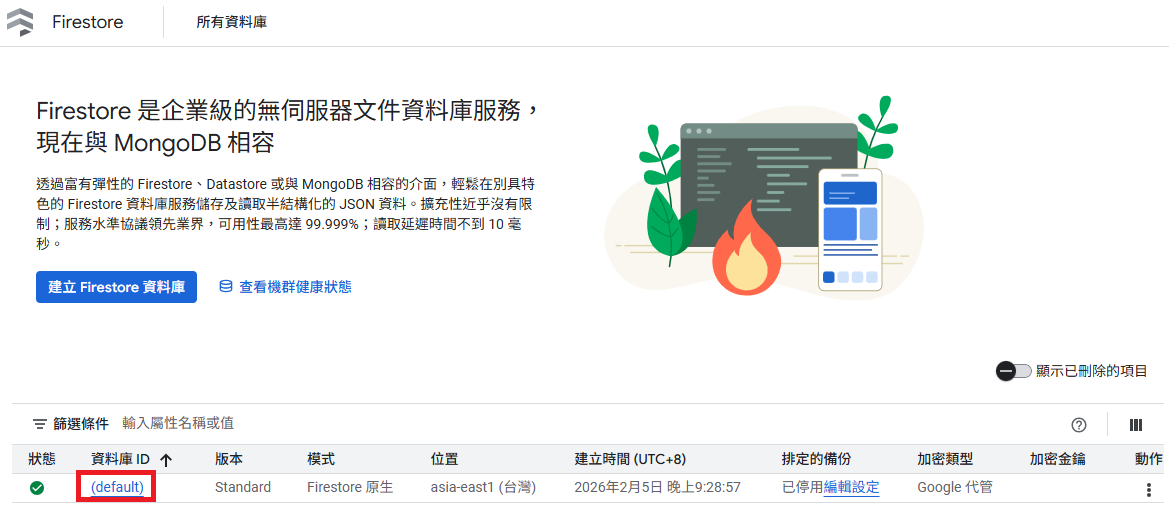
選擇「存留時間」>「建立政策」
輸入集合群組名稱和時間戳記欄位名稱後,點「建立」
過超過 30 分鐘,通常會更久,要看排程何時執行,過期的資料就會自動刪除囉。
參考資料